We are a professional blog site that may receive compensation or free samples from the companies whose products and topics we write about. We are independently owned, and the opinions expressed here are of the writer. To read the full disclosure click here.
______________________________
The Refrigerator is the monument of accomplishment in a household. Report cards, family pictures, and art projects adorn the kitchen fridge as if it is a leaderboard for creativity and achievement. For a child, getting a piece of art pinned to the refrigerator is like winning an olympic medal. It’s a truly treasured moment that elicits a slew of giddiness and pride.
However, life gets in the way and refrigerator space needs to be yielded to wedding announcements and pictures of the family dog. Instead of sentencing your child’s art to a corner shelf in the basement, here are a few creative ideas on how to preserve your kid’s art.
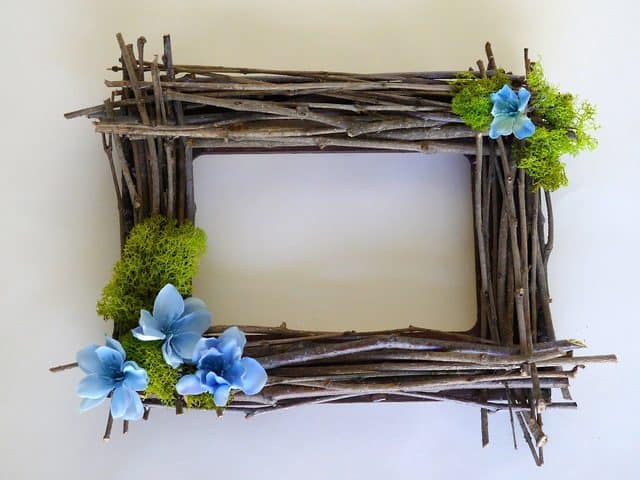 The Twig Frame:
This is an easy idea and it gives your kids an excuse to run around outside and pick up sticks and flowers!
Grab a simple frame and some glue — hot glue works best for this project but regular glue works as well and presents less of a hazard.
Glue sticks layer by layer onto the frame and overlap the corners. Add layers until you achieve the desired effect and then allow the glue to dry. If your kids want to really personalize their frame, have them grab leaves, flowers, acorns — any small adornments that can be glued on top of the twigs (plastic flowers work best for this project, live flowers will eventually wilt).
After the glue has dried, make sure that all pieces are secure and then glue your child’s drawing or painting to the frame and hang it up! Now your kids will see their art as well as a frame that they have collected the materials for and helped to create. This makes their painting or drawing all the more meaningful!
Melted Crayon Art: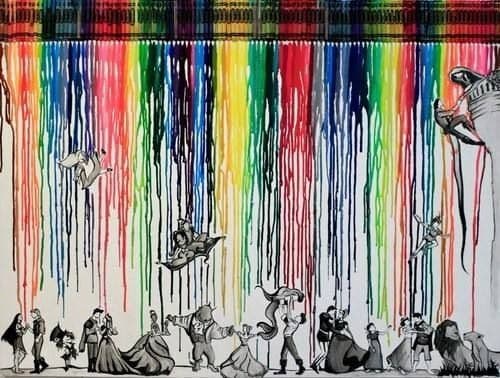
Crayons are the artistic medium of choice for many kids and have certainly produced many masterpieces. But what happens when a crayon loses it’s thunder and is replaced by a newer pack? Most of the time they are thrown away (or lost under the couch), but here is a cool idea for recycling your used crayons.
You’ll need a canvas, some glue, crayons and a hair dryer. Have your child choose their favorite colors and arrange the crayons in a pattern they like along the top of the canvas. Glue the crayons down and wait for the glue to dry.
With a high-heat, low-energy setting, aim the blow dryer at the crayons so that the melted wax travels down the canvas. Heat the crayons until you have covered the amount of canvas that you want and then leave the wax to dry.
After the piece has dried, have your child add any additional decoration with markers, and then it is finished!
Paper Mache Night Light
A fun way to turn drawings into a creative memento is through paper mache. If your child has an impressive backlog of drawings this may be the project for you! You will need craft glue, a candle (preferably electric), a balloon, a bowl and some paper, as well as some drawings from your child.
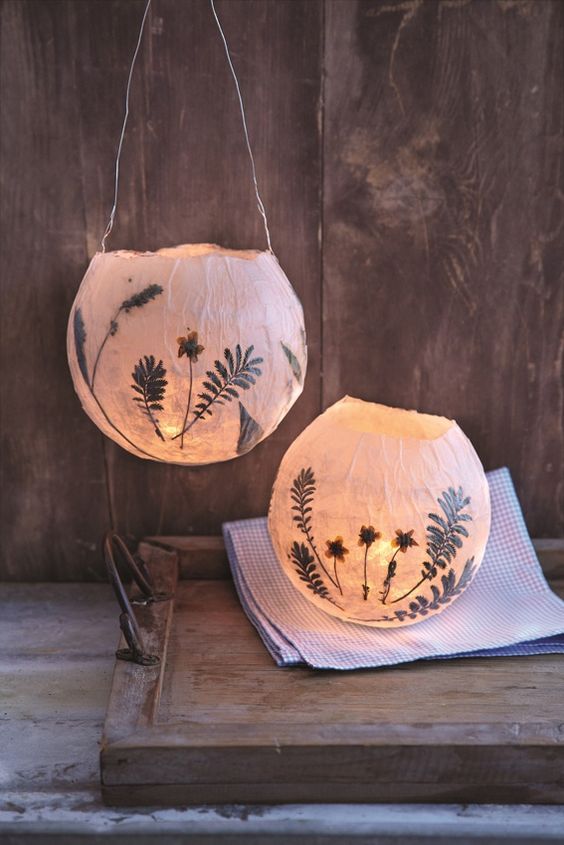 Create a paper mache glue mixture by combining three parts water and one part craft glue in a bowl. Shred some paper and let it soak in the mixture — this will be used to make your base layer.
Blow up a balloon and start placing the soaked paper strips all over the balloon (save for the top of the balloon) to make a bowl shape. Allow that layer to dry. Add layers until you are confident in the sturdiness of the bowl.
Have your child rip their drawings in a way that preserves their favorite aspects of the art. Place the strips in the glue mixture and then cover the dried base layer on the balloon. Allow this layer to dry as well. When the piece has dried, allow your child to add any additional designs using markers to further personalize the bowl.
Pop the balloon and remove the rubber. Place the candle into the bowl, and your child now has a nightlight made of their own artwork!
Make A Paper Bouquet: 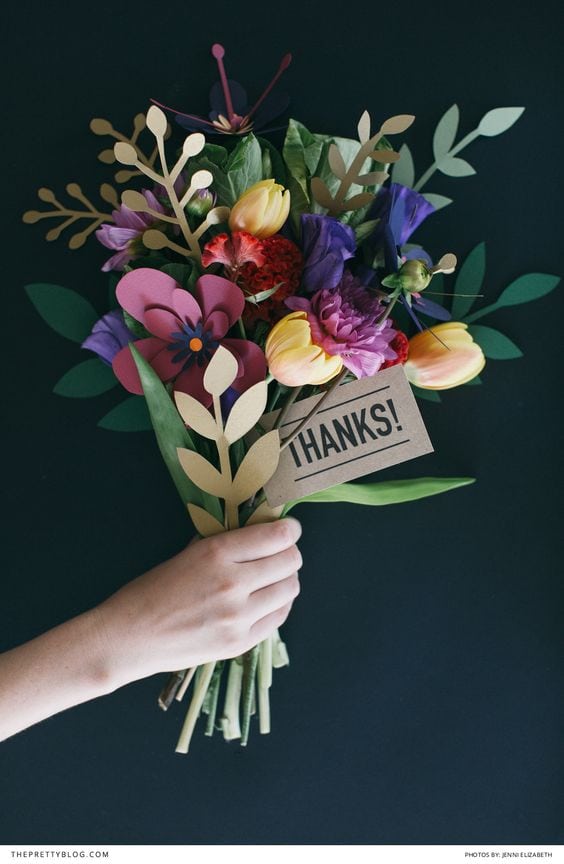
A bouquet of flowers is always a welcome gift on Mother’s Day, or just as a token of appreciation to loved ones. Imagine that gesture with the added sentiment of a child’s artwork!
Give your kid’s artwork an extra dimension of expression — literally!
For this craft you will need construction paper, pencils for stenciling, and tape/glue.
Start by creating some stems. Have your child roll or twist some construction paper into a long stick, and be sure to cut out and attach some leaves!
Next, have your child draw a flower outline onto their drawings to cut out. For extra depth, layers of these “petals” can be glued or taped on top of one another. After the flowers have been created, attach them to the stems.
Group the finished flowers together and secure them with a string, or put them in a case to display on the dining room table.

