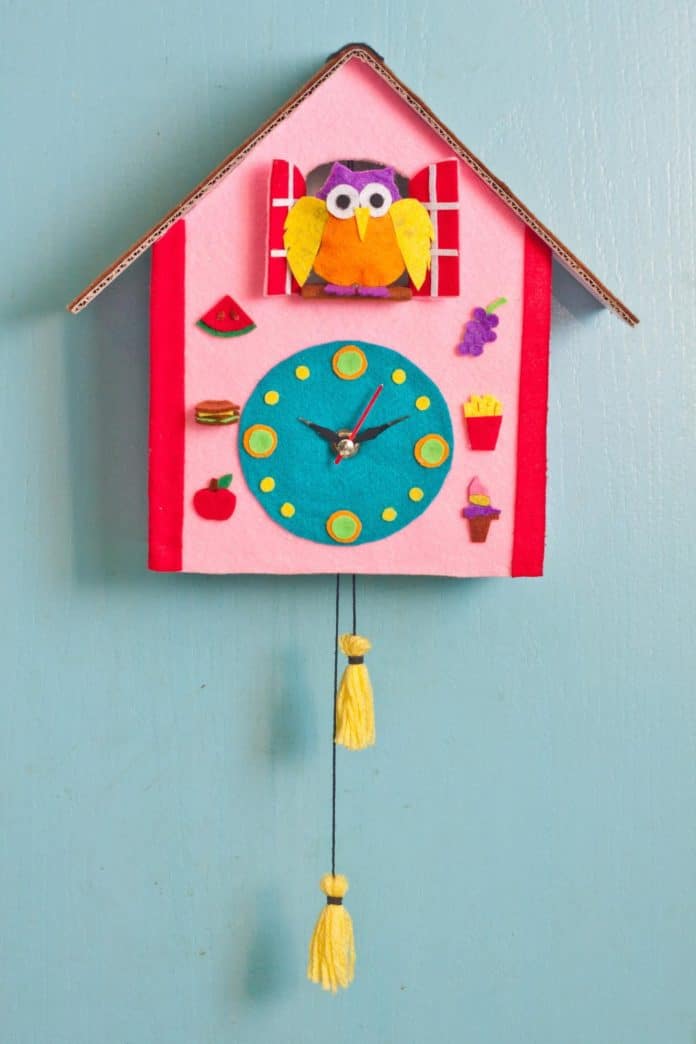
A cuckoo clock is a pendulum clock that creates an hourly “coo coo” noise and includes a cuckoo bird that pops out. Creating a cuckoo clock is challenging and can be a great craft activity to do with children – here’s our tutorial on how to make a cuckoo clock out of cardboard.
Although building a cuckoo clock may be intimidating, this tutorial will walk you through each step. Let’s get started!
MATERIAL LIST
- Several different colors of crafting felt
- The clock mechanism from an old wall clock or alarm clock
- A cardboard box
- A ruler
- A pencil
- A cutter or an X-acto knife
- Scissors
- Small, pointed-end scissors
- A yarn of any color
- A crochet thread
- A long nose plier
- A soda can tab
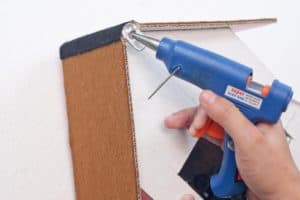
- A hot glue
We have divided the DIY project into three sections: 1. ) Constructing the birdhouse, 2.) Creating the clock mechanism, and 3. ) Designing the cuckoo bird and clock weights.
BUILDING THE CUCKOO CLOCK FOUNDATION
Step 1: Draw a right triangle on the upper corner of the piece of cardboard. This will serve as the roof part of the house. The measurements are: 7.5 cm x 24.5 cm x 12 cm.
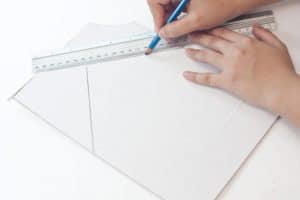
Step 2: Repeat step #1 so you have two identical pieces of cardboard. These parts will be the front and back end of the house.
Step 3: Cut two rectangles that are 15.5 cm x 7.5 cm.
Step 4: Draw a window on the upper middle portion of the front face of the house using a pencil, then cut a window hole based on the drawing made.
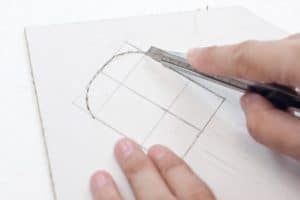 Step 5: Create a hole in the middle of the front face cardboard using scissors.
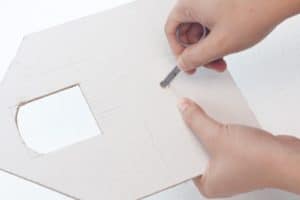 Step 6: Cut a rectangular hole out of the middle bottom section of the rear facing cardboard.
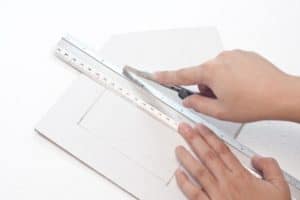
Step 7: Measure and cut the crafting felt for the body of the front facing cardboard piece with the window.
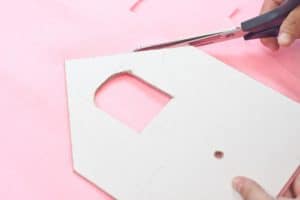
Step 8: Glue the crafting felt onto the cardboard, then cut off the excess felt hanging on the sides.
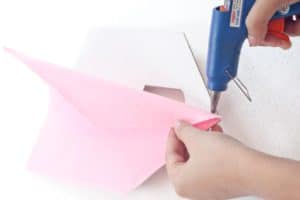 Step 9: Cut an opening for the window.
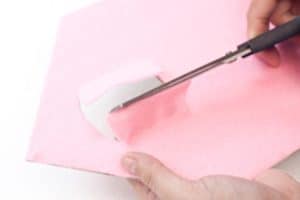 Step 10: Cut and glue the same crafting felt that was used to cover the front, to the two rectangular cardboard pieces.
Step 11: Glue one rectangle piece on the side of the front and back facing cardboard.
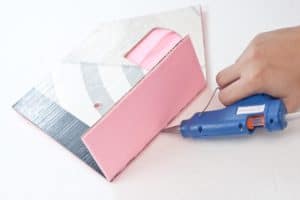 Step 12: Glue the rear face cardboard to the two rectangular cardboards to close in the structure of the cuckoo house.
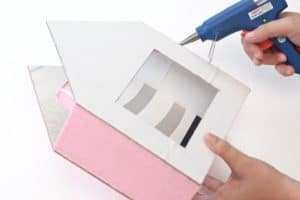 Step 13: Cut two red felt strips with a minimum width of 3 cm, and the height equal to the side panels of the cuckoo house.
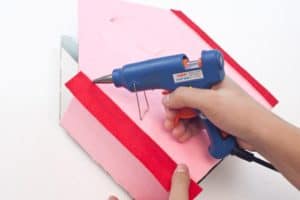
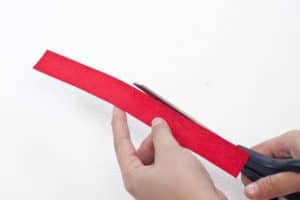 Step 14: Glue the red strips on the front end corners of the house.
 Step 15: Cut out a piece of a rectangle from the cardboard that is left to create a roof for the house. Take the actual measurement using a ruler and use this as a reference to cut the rectangular roof. Fold the rectangular cardboard in the middle and try it on the house if it fits well.
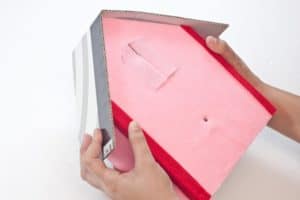
Step 16: Cut off and glue brown crafting felt on the cardboard roof. Trim any felt that hangs over the edges.
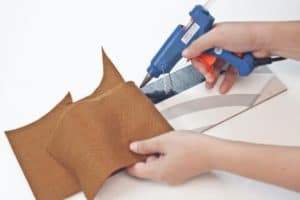
Step 17: Glue the roof on the house.
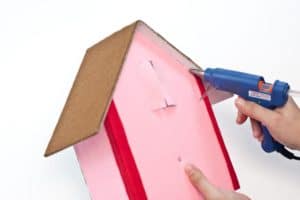 Step 18: Cut a strip of black crafting felt that is at least 3 cm wide. Hot glue the black strip on the top of the roof.
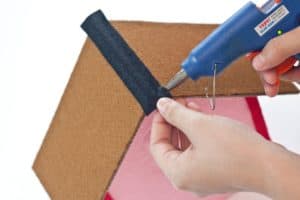
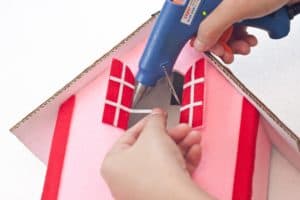
Step 19:Cut and glue a piece of red felt pieces on the window.
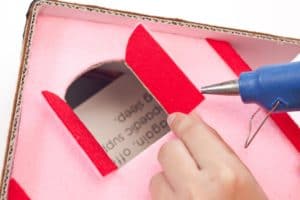
Step 20: Cut thin strips of white crafting felt to put on the window shutters using hot glue.
ADDING THE CLOCK MECHANISM
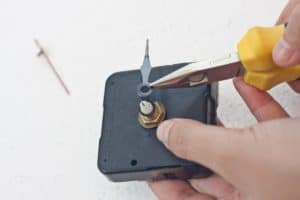
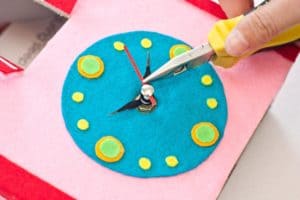
Step 1: Remove the clock hands from the mechanism using pliers. Also, remove the nut screws.
Step 2: Insert the clock boy in the back of the hole made in the front face of the house.
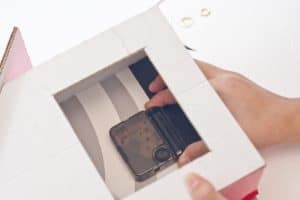
Step 3: Cut a medium-sized circle from a blue-green crafting felt that will fit at the bottom part of the house. Create a small hole for the hands of the clock.
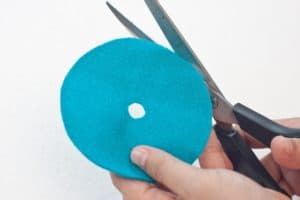 Step 4: Lock the clock mechanism in place by placing the nut screw on the protruded part of the clock mechanism.
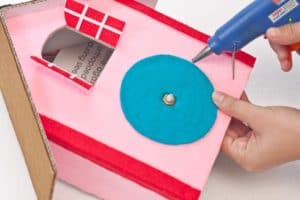
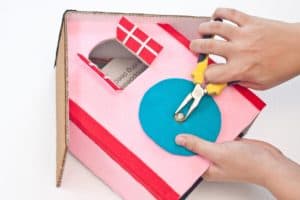 Step 5: Glue the circle crafting felt into its position.
 Step 6: Cut out four orange circles and four smaller green circles. Glue the green ones on top of the orange ones. These circles will represent the 3. 6, 9, and 12 numbers on the clock. Glue the circles onto the clock.
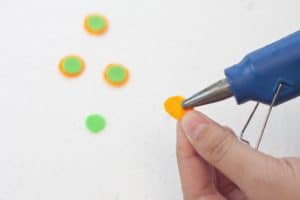
Step 7: Cut eight pieces of small yellow circles and glue two pieces of it in between the big circles. These circles will be the 1, 2, 4, 5, 7, 8, 10, and 11 numbers on the clock.
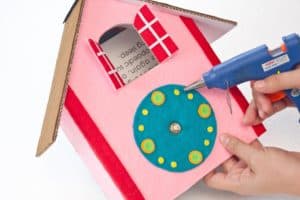
Step 8: Place the hands of the clock on its mechanism.
 DESIGNING THE CUCKOO BIRD AND CLOCK PARTS
Step 1: Cut a small piece of a rectangle cardboard that can fit in the window. Cover the small rectangle with a brown felt. This will be the cuckoo’s standing platform later on
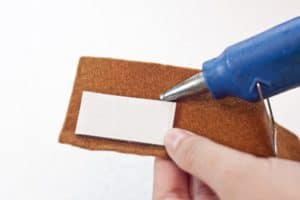 Step 2: Glue the standing platform on the bottom section of the window frame.
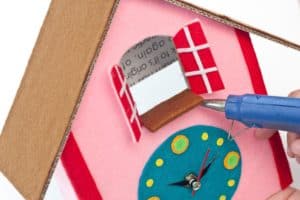
Step 3: Cut two pieces from the purple crafting felt for the cuckoo’s body.
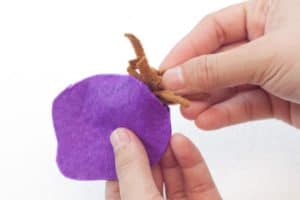
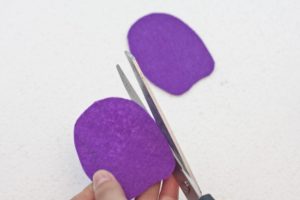 Step 4: Cut a scrap of felt pieces and place it in the cuckoo’s body.
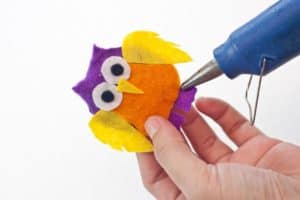
Step 5: Add details to the bird. Cut a pair of wings, a pair of eyes, nose and a pair of legs and glue it on the body afterward. Use different colors of crafting felt and be creative!
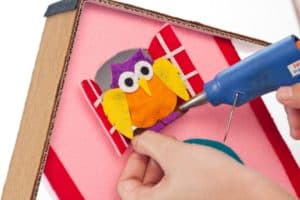
 Step 6: Glue the bird on the windowsill.
 Step 7: Wrap the yarn around your fingers. Cut the yarn off when you reach a considerable thickness of the yarn with your fingers.
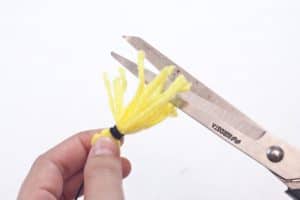
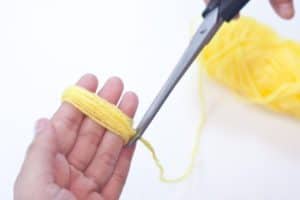 Step 8: Wrap one end of the yarn with a crochet thread and cut the other side to create loose ends. Trim some yarn pieces to create a loose tassel. Repeat this process to make an entire second tassel. Tie the two tassels together, creating loops on the ends.
 Step 8: Cut a small brown felt square and create a hole in the middle. Insert the looped end of the tassel’s crochet thread into the hole in the square felt. Generously place a glue on the square felt since this will assist the hanging of the weights from the clock body.
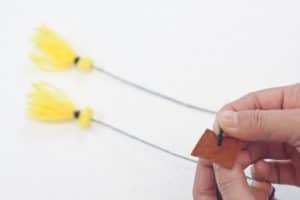 Step 9: Quickly place the brown square with tassels on the inner, middle portion of the clock’s roof. Hold the brown felt in place until the glue has dried.
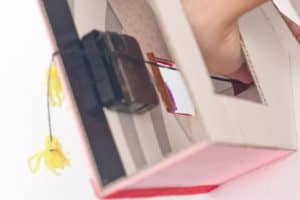 Step 10: Place and generously glue the soda can tab on the rear mid-upper portion of the roof. It will assist the hanging of the cuckoo clock to the wall.
Step 11: Your DIY cuckoo clock is now finished and ready for hanging!
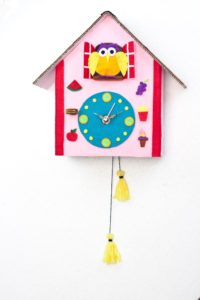
Congratulations! You have crafted a DIY cuckoo clock!


