We are a professional blog site that may receive compensation or free samples from the companies whose products and topics we write about. We are independently owned, and the opinions expressed here are of the writer. To read the full disclosure click here.
______________________________
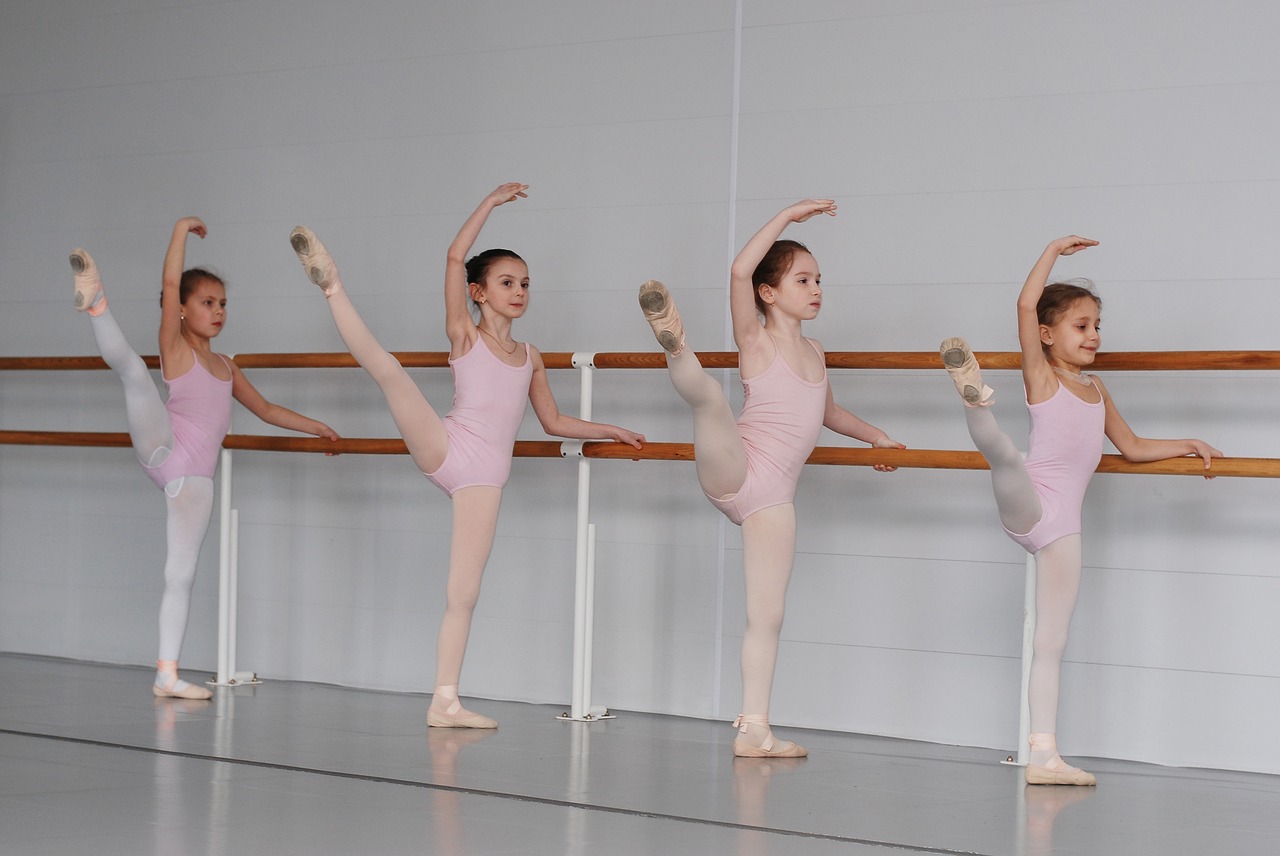
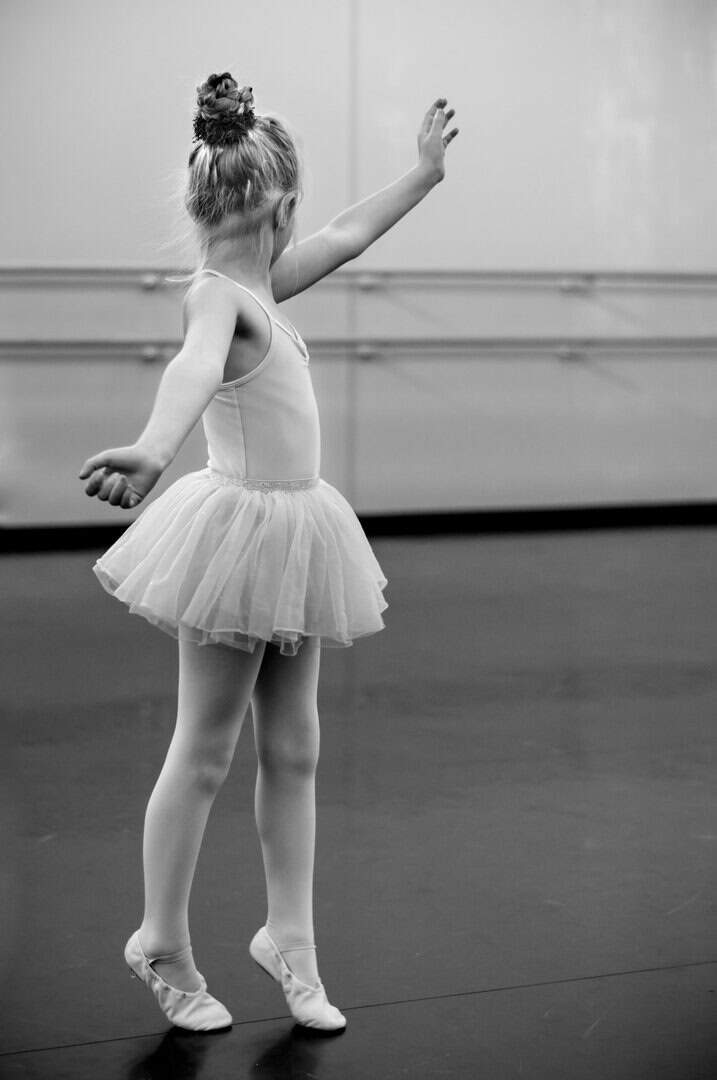
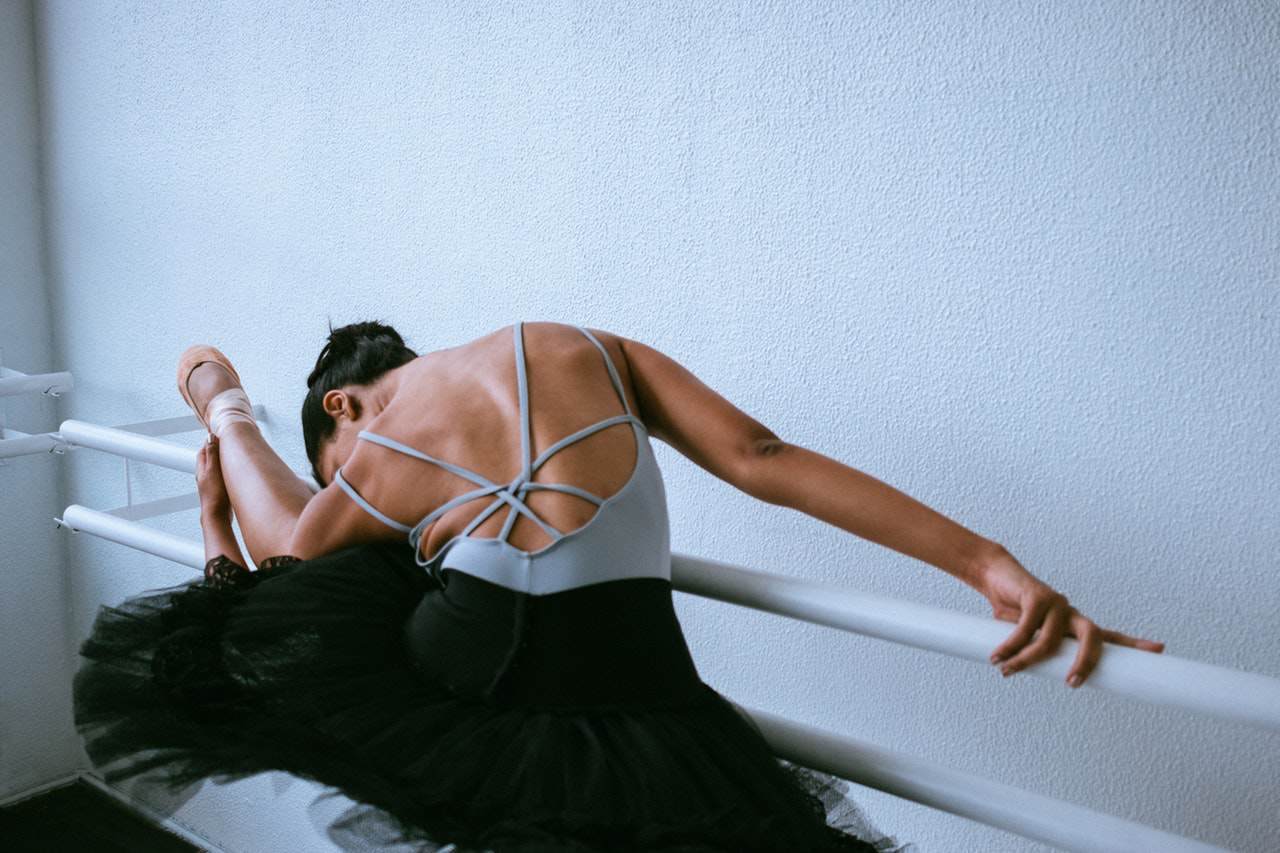
Traditionally, it is popular to register kids (especially girls) for ballet classes. It’s quite justified even if they won’t turn into professional dancers, such activities are very beneficial. They will learn to have nice posture, wonderful exercise, grace, and unprecedented heights in discipline. However, to reach high workout efficiency, you may think of installing a ballet barre at home. Without it, even daily training will not give the desired result.
Which ballet barre option is best for you
There is more than one ballet barre to choose from. They differ in both the configuration and mounting method. Let’s start with the first one. To begin with, the ballet barre can be single-row (single handrail) or double-row (one – above, the other – a little lower). The second one is suitable only for specialized dancing halls with different age groups. For home workouts, a single-row type is usually chosen. If you expect your child to be involved in ballet for more than a couple of months, keep in mind the growth factor. If you do not want to install a new ballet barre every 6 months, choose the one with telescopic stands or several levels for the beams parallel to the floor.
How to install a ballet barre
The next important parameter is how do you install the ballet barre. The most secure fixation is considered to be in both the floor and the wall. If the walls are unreliable – it is mounted in the floor only, but over time the supports may become loose, and it will become uncomfortable to workout.
If the room has strong (brick or concrete) walls and, for example, expensive flooring (the same parquet made of natural wood), you can mount the ballet barre only to the walls. However, with heavy loads, there is a possibility that over time the screws or dowels will loose which can also lead to injury. If you regularly travel and do not want the child to stop training, make sure that the ballet barre is portable. This type of barre is placed on stable supports, but it is advisable to mount it horizontally in a new place.
Many parents, faced with the need to purchase the appropriate equipment, make standard mistakes. This is natural, as it is not easy to choose a ballet barre. A person not professionally involved in dancing just doesn’t know how to “do it right”. And no matter where you get your child’s ballet barre – made by yourself, ordered in a special workshop or bought ready off-the-shelf – you need to consider the following recommendations.
First of all, the height of the beam. To avoid correcting posture and movement defects, remember: it should be at the level of the lowest rib of the dancer. Next, don’t use cheap materials or a cheap ready-made ballet barre. Chinese variants usually contain easily evaporating inclusions which could impact your child in a closed room. Also, a ballet barre should include only wooden handrails and not covered with varnish. A sweaty hand will slip down over the metal or lacquered handrails which often leads to injuries.
What materials to use for a homemade ballet barre
If you are not too rich, not satisfied with what is offered in the store, not sure that your child’s passion is for a long term, or ready-made variants do not fit in your home, you can make a ballet barre with your own hands. You won’t need many components: a smooth polished handrail of the required length (50 mm diameter), several supports (their number depends on the length of the wall to which the ballet barre will be mounted, a minimum of three), wall plugs and some solid screws. The construction will need two plugs (if you take the pipe, not the wood) and 12 fasteners for three supports. The ideal choice for a handrail will be beech or oak, but in case of emergency, a chrome pipe will do as well (gloves to prevent sliding will be needed).
According to Home Dweller article, consider a mounted ballet barre with three supports and fastenings, mounted to the wall. First of all, the marking is made: the height level is calculated depending on your child’s height, the places on the wall, where the ballet barre will be mounted, are then marked. Through those marks, holes are drilled (four per each support). Dowels are then screwed in and the supports are actually mounted. A handrail is inserted into the mounts; if a pipe is selected, plugs are inserted, and the child can start working out.
Since it is much cheaper to make a ballet barre at home on your own, and even take into account the individual characteristics of the apartment, many people use this method.


